Wednesday, June 11, 2014

Child size Crochet Hat


This size of pattern fits my 3 years old but it does fit up to a 10-12 year old also. I will write the basic pattern for this hat and attach the link to this cute flower. :)

Materials:
I Love This Yarn from Hobby Lobby. You can use any worsted weight yarn.
5.5 mm hook
Tapestry needle
Scissors
Small amount of contrasting colors for flower.


Abbreviations:
ch- Chain
sc- Single Crochet
hdc- Half Double Crochet
slst- Slip Stitch
 
 
PATTERN:
 
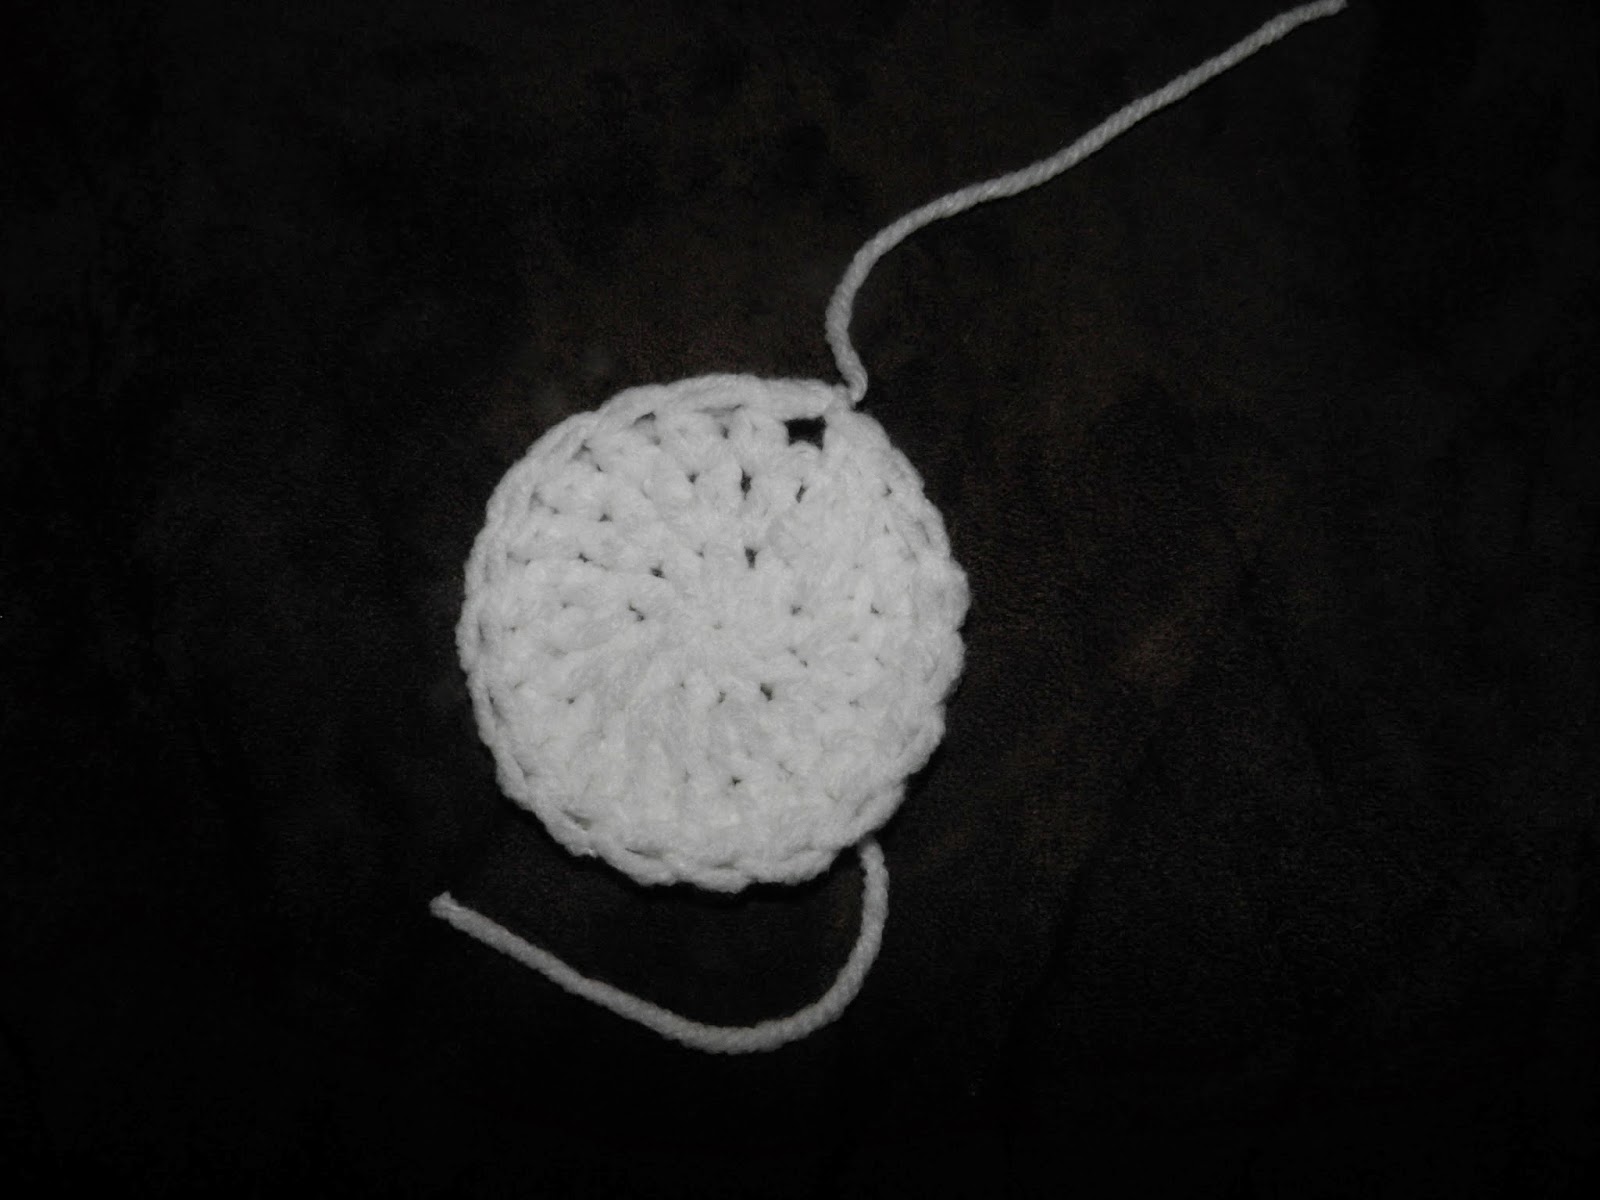
Round 1- Start with a Magic Ring. Ch 2. (counts as a hdc now and throughout the hat), 6 hdc in Magic ring. Join to top of ch 2 with a slst. (7)
 
Round 2- Ch 2, hdc into same stitch. 2 hdc into each stitch around. Join to top of ch 2 with slst. (14)
 
Round 3. Ch 2, hdc into same stitch. 2 hdc into each stitch around. Join to top of ch 2 with slst. (28)
 
Round 4. Ch 2, hdc into each stitch around. Join to top of ch 2 with slst. (28)
 
Round 5. Ch 2, hdc into same stitch. 2 hdc into each stitch around. Join to top of ch 2 with slst. (56)
 
Round 6. Ch 2. hdc into each stitch around. Join to top of ch 2 with slst. (56)
 
Round 7-18. TURN. Ch 2. hdc into each stitch around. Join to top of ch 2 with slst. (56)
 
Round 19. TURN. Ch 1. sc into each stitch around. Join to top of chain 1 with slst. Tie off. (56)
 
Take the tapestry needle and weave the ends into the hat good so they don't come loose.
 
Hat will look like this:
 
 
I found the flower patterns here:
 
 
You could use any pattern for the flower but I thought this one was pretty.
 
Here is my finished hat:
 
Please post any questions.

Happy Crocheting everyone.


Sunday, March 30, 2014

Sock Monkey hat for 0-3 months.

Sock Monkey hat Pattern for 0-3 months


Materials:  Crochet hook size 5.5mm
                  Scissors
                  Tapestry Needle
Yarn:         Worsted Weight: Black, Gray, White, Blue (or any colors you want)

Stitches used: Slip Stitch-slst
                       Single Crochet- sc
                       Half Double Crochet- hdc
                       Chain- ch
                       Half Double Crochet Decrease- hdctog
 
Start with WHITE:

Round 1: Make a magic ring. Chain 1. 10 hdc into magic ring. Pull tight and join with a slst to first
                hdc. (10)


Round 2: Ch. 2 (will always count as a hdc). Hdc into the same stitch. 2 hdc into each stitch around.
                Slst into 1st hdc of round. (20)


Round 3: Ch. 2. Hdc in each stitch around. Slst into 1st hdc of round.  TIE OFF (20)
 
Join Blue
Round 4: Ch. 2. Hdc into same stitch. 2 hdc into each stitch around. Slst into 1st hdc of round. TIE
                OFF. (40)
 
Join Gray
Round 5: Ch. 2. TURN. 1 hdc into each stitch around. Slst into 1st hdc. (40)
 
*****Reason I turn after each round is to keep a straight seam down the back of the hat******
 
Round 6-13: Repeat round 5. Tie off after round 13.
 
Ear flaps:

Do no count Ch. 1 as a stitch.

1st flap:
 
Join gray yarn in the 6th stitch to the left from the center of the back of the hat.
Row 1: Ch. 1. 1 hdc in same stitch as ch. 1. 1 hdc into each of the next 6 stitches. (7)
 
Row 2: TURN. Ch. 1. 7 hdc . (7)
 
Row 3: TURN. Ch. 1. 1 hdctog. 3 hdc, 1 hdctog. (5)
 
Row 4: TURN. Ch. 1. 5 hdc. (5)
 
Row 5: TURN. Ch. 1. 1 hdctog. 1 hdc, 1 hdctog. (3)
 
Row 6: TURN. Ch. 1. 3 hdc. (3)
Tie off
 
2nd flap:
 
Join gray yarn in 12th stitch to the right from the center of the back of the hat.
 
Row 1. Ch. 1. 1 hdc in same stitch as ch. 1. 1 hdc into each of the next 6 stitches. (7)
 
Row 2: TURN. Ch. 1. 7 hdc . (7)
 
Row 3: TURN. Ch. 1. 1 hdctog. 3 hdc, 1 hdctog. (5)
 
Row 4: TURN. Ch. 1. 5 hdc. (5)
 
Row 5: TURN. Ch. 1. 1 hdctog. 1 hdc, 1 hdctog. (3)
 
Row 6: TURN. Ch. 1. 3 hdc. (3)
 
DO NOT TIE OFF.
 
Ch. 1 and then single crochet around the entire hat. Join back at the end of the ear flap and then TIE OFF.
 
Weave in all ends and trim them.


Ears:
 
Make 2.
 
Round 1: 7 hdc into a magic ring. (7)
 
Round 2: Ch. 2. Hdc into same stitch as ch. 2. 2 hdc into each stitch. Tie off (14)
 
Eyes:
 
Make 2.
 
Round 1: 4 sc into magic ring. Join with slst. Tie off.
 
Mouth:
 
Chain 7.
 
Row 1. Sc in next stitch, sc in next 4 stitches. 3 sc into last stitch. Now going down the bottom side of ch. sc into next 4. 2 sc into last stitch. Join with slst.

Row 2: Ch 1. sc into same stitch. Sc into next 4 stitches. 2 sc in next 3 stitches. sc into next 4. 2 sc into next 2 stitches. Join and Tie off.

Use tapestry needle and make the smile with the blue.

Pom Pom:
 
Wrap yarn around Finger.
 
 Insert hook all the way through. Grab a 12 inch piece of yarn and pull it through.

Take Yarn off of Finger and tie the 12 inch piece of yarn in 3 or 4 knots, nice and tight.
 Cut the loops and trim up the pom pom.

This is what you should have in front of you.

 Before we start sewing everything onto the hat we are going to put the braids on.
 Cut 12 18 inch pieces of the color you want to use. I used Blue.
Split them up into 2 groups of 6.
Pull 6 through on each side.
 Loop it through and Braid it.
 Now sew all pieces into correct place and you have an adorable Sock Monkey hat.


Monday, January 13, 2014

Adorable Booties
 
 
I bought this pattern on Etsy.com. I bought it from NewbornKnots store. Click here to get to the page. 
 
 
Here is my finished product. Very cute. They were so easy to make and her pattern was very easy to follow. I defiantly give her 5 stars for her pattern writing skills.
I have been looking for a booties to make where I had room to put faces on them. When I saw this on Etsy I  knew it would be perfect.
Here is my finished bootie with an added face.
They are Hello Kitty Inspired. I added an ankle strap too.
 
To make these I made 4 triangles (2 for each bootie).
I made 2 little bows.
The rest is just yarn sewed in with a tapestry needle.
The pattern is for worsted weight yarn and a 2.75mm hook.
 
I hope everyone buys this pattern and uses there imagination to make whatever they want. Next I think I am going to make a pair of puppy booties. :)


Saturday, January 4, 2014

Big Flower


This is for the flower on the hat in the Basic newborn pattern. Here is that link: http://malisac04.blogspot.com/.
 
 
Material:
Worsted weight yarn. I used Red Heart Super Saver yarn.
Size 5.5mm crochet hook.
Tapestry needle
Scissors
 
Abbreviations:
ch-chain
hdc-half double crochet
dc-double crochet
dtc-double treble crochet or triple crochet
 
Pattern:
 
Row 1: Ch 26. Turn
 
Row 2: Hdc in 2nd chain from hook. Hdc in same stitch as 1st hdc. 2 hdc in the rest of the stitches. Turn. (48 Hdc)
Row 3. Ch 1. slip stitch into first stitch. In that same stitch hdc and dc. Next stitch 3 dtc. Next stitch dc, hdc, slip stitch. *next stitch slip stitch, hdc, dc. next stitch 3 dtc. next stitch dc, hdc, slip stitch.*
Repeat between the 2 *'s until you hit the end.
In 3 stitches you will have formed a petal to your flower. You will have a total of 16 petals.


Now you will need to make the flower. Start with one end and wrap the rest of the spiral around the bottom. You will want to go out a little bit so your flower will be wide. The nice thing about this is you can determine how big you would like the poofy or how wide you would like the flower.
Now take a piece of yarn and sew your flower into place with the tapestry needle. You can then sew this flower onto a hat, bag, or anything you want.
 
 
Please comment with any questions. Thanks.

Monday, December 30, 2013

Basic crochet pattern for newborn hat.


Basic Crochet Hat Pattern
Pattern wrote by Malisa Reed


Materials:
Worsted weight yarn (I use size 4 Red Heart Super Saver)
Size 5.5mm crochet hook
Tapestry needle


Abbreviations used:
st or sts- Stitch or stitches
ch- chain stitch
sc-single crochet
hdc- Half Double Crochet
sl st- Slip Stitch
rnd- round

NOTES:
Here is a link on how to make a magic ring:
http://www.crochetme.com/how-to-crochet-magic-ring-instructions/


If you don't want to make the magic ring you can chain 2 an do your hdc into the 1st chain.

Your Chain 2 will count as a hdc
Newborn

Rnd 1. 9 hdc into Magic ring. Join with a sl st. (9 hdc)


Rnd 2. Chain 2. 1 hdc into same stitch as chain 2. 2 hdc in each st. around. Join with a sl st. (18 hdc)


Rnd 3. Chain 2. 1 hdc in each st around. Join with sl st. (18 hdc)


Rnd 4. Chain 2. 1 hdc into same stitch as chain 2. 2 hdc in each st around. Join with sl st. Turn (36 hdc)


Rnd 5. Chain 2. 1 hdc in each st around. Join wiht sl st. Turn (36 hdc)

Rnd 6-Rnd 13. Chain 2. 1 hdc in each st around. Join with sl st. Turn (36 hdc)

Top is the front of the hat
Bottom is the back of the hat. Because of that Turn after you do you slip stitch on Rounds 5-13 you should have a straight seam. 

These are the measurements I get when I finish the newborn hat. 


Tie off


EAR FLAPS:

1st one:
Find middle on the bottom of the hat in the back.
Count 5 stitches over to the left. (You will have your hat right side out)
Join yarn with slip stitch.
HDC in same stitch as you did the slip stitch, HDC in next 6 stitches. (7 HDC).
Chain 1. HDC in same stitch as chain 1, HDC in next 6. Turn
Chain 1. HDC2tog starting in chain 1 spot. HDC in next 3. HDC2tog. Turn. (5 HDC)
Chain 1. HDC in same stitch as chain 1, HDC in next 4. Turn
Chain 1. HDC 2tog starting in chain 1 spot. HDC in next stitch. HDC2tog. Turn. (3 HDC)
Chain 1. HDC in same stitch as chain 1, HDC in next 2.
Tie off.


2nd one:
From the middle count 11 stitches to the right.
Join yarn with slip Stitch
(You will be working from the front of the hat to the back now)
HDC in same stitch as you did the slip stitch, HDC in next 6 stitches. (7 HDC).
Chain 1. HDC in same stitch as chain 1, HDC in next 6. Turn
Chain 1. HDC2tog starting in chain 1 spot. HDC in next 3. HDC2tog. Turn. (5 HDC)
Chain 1. HDC in same stitch as chain 1, HDC in next 4. Turn
Chain 1. HDC 2tog starting in chain 1 spot. HDC in next stitch. HDC2tog. Turn. (3 HDC)
Chain 1. HDC in same stitch as chain 1, HDC in next 2.
Tie off.

 Top is the front after ear flaps.
Bottom is the back after ear flaps.

FINISHING:
Slip Stitch in the back. Chain 1. SC in each stitch around the hat.


Cut any loose ends


Front

Back 
Side view.
 
 
The fun thing about a basic hat is you can make it into anything. I use this hat pattern for everything. All my different animals and just my simple hats with flowers on the. This one I added a crocheted flower and ties to it and it is ADORABLE.

Please don't be afraid to ask any questions. I will get more sizes up here within the week. I just want to make sure I can make the hat while writing and posting on here.

I hope everyone has a wonderful 2014.